
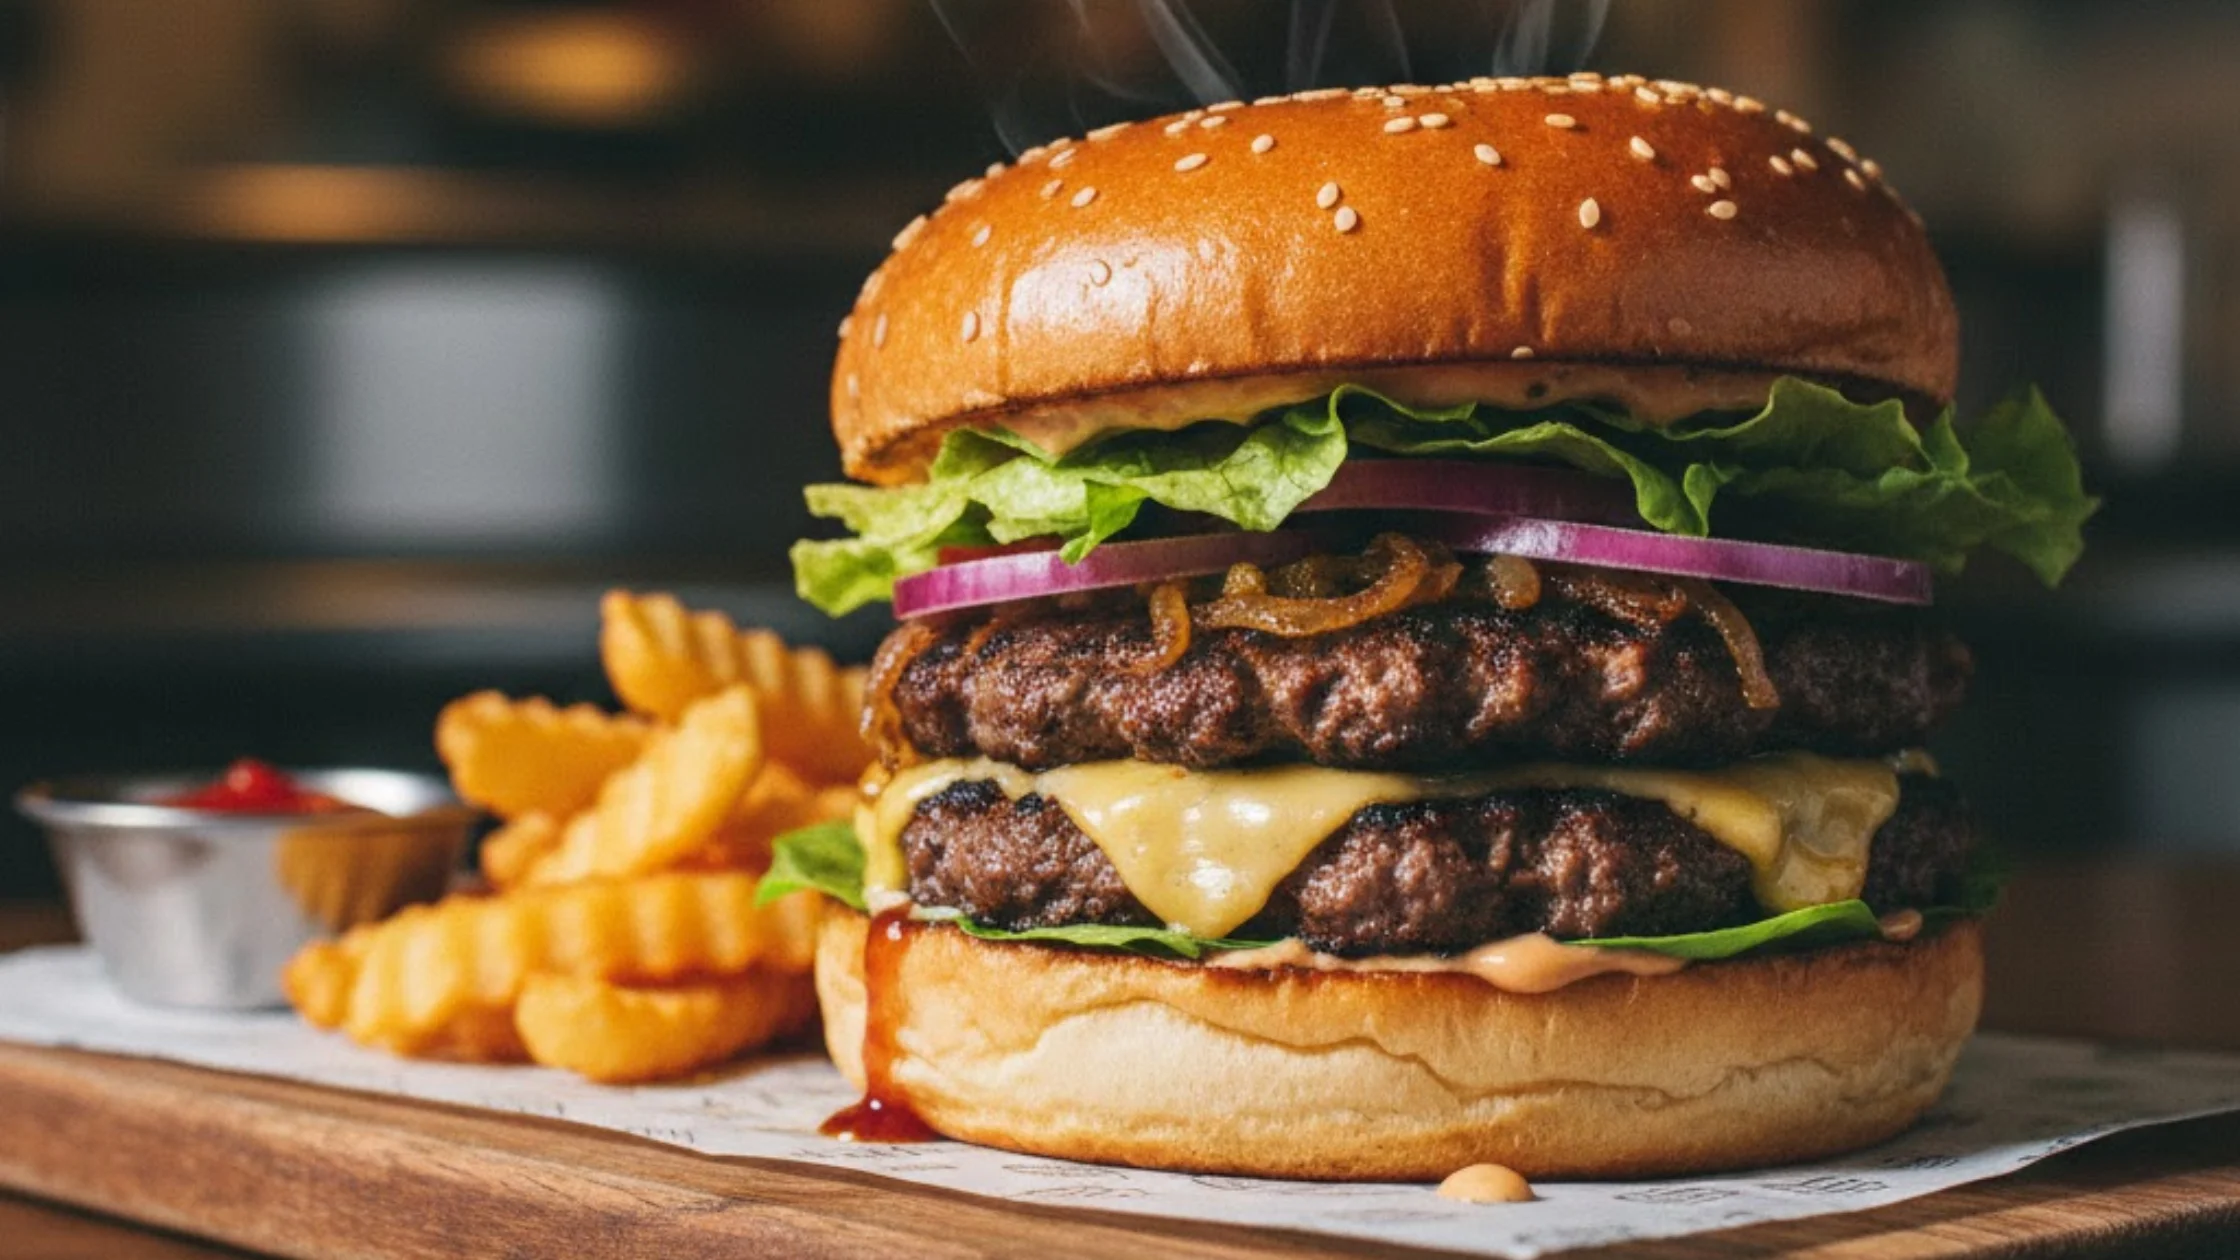
Let’s get straight to it. The smash burger is a game-changer. It’s the hero of backyard grills and hip eateries for a reason. Forget everything you know about thick, hand-formed patties. It is about a beautiful contradiction: a seared, crispy crust hugging a tender, juicy center and craving that iconic smash burger recipe?
Wondering exactly how to make a smash burger that rivals your favorite joint? You’ve landed in the right spot. We’re diving deep into the essentials—from the must-have smash burger press to the iconic smash burger sauce.
We’ll even venture into fun territory like smash burger tacos and see how the Sonic smash burger stacks up. It is practical, no-fluff cooking intelligence—time to roll up your sleeves.
What Is a Smash Burger? The Science of the Crust
So, what is a smash burger? It’s less of a recipe and more of a technique—a physical reaction. You start with a modest ball of fresh, cold ground beef. You don’t fuss with it. You drop it onto a surface hotter than a summer sidewalk. Then, you apply force.
You smash it flat with a smash burger press or a sturdy tool. It isn’t gentle persuasion. It’s decisive action. The goal is maximum surface contact. That thin layer of meat hits the heat, and something magical happens: the Maillard reaction.
It isn’t just browning. It’s a complex chemical dance between amino acids and sugars that creates hundreds of new flavor compounds. The result? A lacy, caramelized, intensely flavorful crust that shatters when you bite into it. The inside, insulated by its own thinness, stays remarkably moist. It’s a textural masterpiece in under two minutes.
Crafting the Ultimate Smash Burger Recipe
The smash burger recipe hinges on precision. It’s a minimalist approach where every variable matters. Here’s your battle plan, broken down.
The Foundation: Meat & Heat
- Fat is Flavor: Source 80/20 ground beef (80% lean, 20% fat). The fat renders during the smash, basting the patty and creating that essential crisp. Leaner blends will disappoint.
- Keep it Cold, Keep it Loose: Form 2.5 to 3-ounce portions into loose, ragged balls. Don’t compact them. Refrigerate until the last second. Cold meat sticks less and sears better.
- Nuclear Hot Surface: Your cast-iron skillet, griddle, or flat steel must be preheated over medium-high to high heat for a solid 5-10 minutes. No oil. We’re aiming for 400°F+.
The Execution: The Smash & The Sizzle
- Place and Obliterate: Set a cold beef ball on the hot surface. Immediately press down with your weighted smash burger press. Use decisive, firm pressure. Hold for 10-15 seconds to ensure full contact.
- Season Smartly: After smashing, generously season the top face with kosher salt and coarse black pepper. Seasoning beforehand can draw out moisture, hindering the crust.
- The Scrape and Flip: At around 60-75 seconds, the edges will brown and curl. Slide your sturdy metal spatula underneath with confidence. A proper crust will release. Flip. If adding cheese, do it now.
- Final Touch: Cook for another 30-45 seconds only. Then, transfer to a resting plate. The residual heat finishes the job.
The Build: Architecture Matters
- Toast Your Bun: In the rendered beef fat left in the pan, toast the cut sides of your potato or brioche bun. It adds flavor and a moisture barrier.
- Sauce First: Spread your smash burger sauce on both bun halves. It creates a flavorful glue.
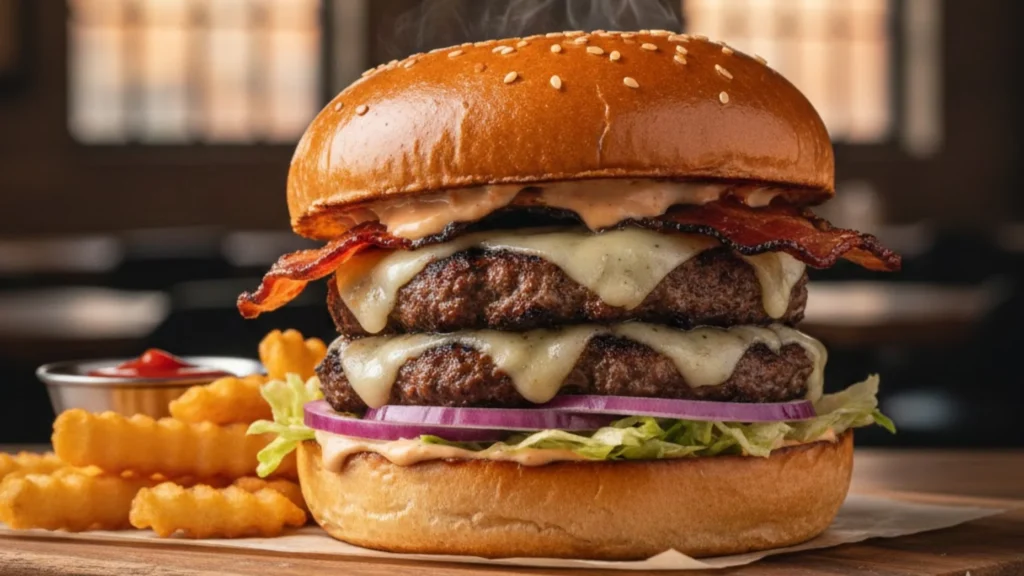
- Stack Thin, Stack Double: Consider two thin-smashed patties over one thick one. It increases the crispy surface area per bite. Add simple toppings: crisp lettuce, a thin onion slice, and a pickle.
The Signature Sauce: More Than Just Mayo
The smash burger sauce isn’t an afterthought. It’s the creamy, tangy conductor that harmonizes the entire ensemble. While recipes vary, the core principle is balance—richness, acidity, sweetness, and umami. Here’s a blueprint you can own:
- 1/2 cup high-quality mayonnaise (base richness)
- 2 tablespoons ketchup (sweetness & tang)
- 1 tablespoon yellow mustard or 2 teaspoons Dijon (acidic punch)
- 1 tablespoon sweet pickle relish or 2 teaspoons pickle brine (bright acidity)
- 1 teaspoon smoked paprika or 1/2 teaspoon garlic powder (savory depth)
- A few dashes of hot sauce (optional, for complexity)
Whisk it. Let it meld in the fridge for an hour. Taste and adapt. This sauce also elevates smash burger tacos or acts as a stellar fry dip.
Essential Gear: Press, Spatula, and Surface
The right tools transform the process from frustrating to flawless.
- The Smash Burger Press: A dedicated, heavy press with a long handle provides even pressure and keeps your hand safe from steam and splatter. Alternatives include a heavy-duty spatula with a second utensil for leverage, or the bottom of a small, sturdy saucepan.
- The Spatula: This is critical. You need a strong, thin, flexible metal spatula (a “burger flipper” or fish spatula) to get under the delicate, crispy patty without destroying it. Plastic will fail you.
- The Cooking Surface: Consistent, high heat is non-negotiable. Cast iron reigns supreme for heat retention. A heavy stainless steel skillet or a dedicated flat griddle also works. Avoid non-stick for this high-heat searing method.
Creative Twists: Smash Burger Tacos and Beyond
Master the classic, then play. This technique is wonderfully adaptable.
- Smash Burger Tacos: A brilliant fusion. Prepare smaller, 1.5-ounce beef balls. Smash them directly onto a hot surface. Once cooked, chop the crispy patty roughly and pile it into warm street-style corn tortillas. Top with diced white onion, fresh cilantro, a drizzle of smash burger sauce, and a squeeze of lime. It’s a chaotic, delicious mess.
- Global Flair: After the flip, brush the patty with teriyaki glaze. Top with grilled pineapple and a dab of sriracha mayo. Or, use lamb or turkey for a different base flavor.
- Breakfast Smash: Form loose sausage meat into a ball and smash it thin. Serve on an English muffin with a fried egg.
The Fast-Food Benchmark: Sonic Smash Burger
The Sonic smash burger offers a convenient, drive-thru reference point. It provides a generally thin, griddled patty with a decent sear, capturing the spirit of the style. Analyzing it is useful: note its thinness, its simple topping profile (mustard, onion, pickle), and its soft, steamed bun. Your home version isn’t competing with it; it’s surpassing it.
You control the beef quality, the cheese melt, the sauce freshness, and, most importantly, you serve it seconds off the griddle, not minutes under a heat lamp. The Sonic smash burger is a reminder of the format’s appeal, but your kitchen is where the true potential is unlocked.
Troubleshooting: Avoiding the Pitfalls
Even simple techniques have stumbling blocks. Let’s sidestep them.
- Sticking Patties: Cause: not hot enough surface, or moving the patty too soon. Solution: Wait for the preheat. Let the patty cook undisturbed to form a crust that self-releases.
- Steamed, Grey Meat: Cause: overcrowding the pan or using meat that’s too warm. Solution: Cook no more than two patties at a time in a standard skillet. Keep beef balls refrigerated.
- Lackluster Crust: Cause: insufficient smash pressure, too-thick patty, or low heat. Solution: Press harder. Ensure your press makes full contact. Verify your heat source.
- Dry Burgers: Cause: overcooking. Solution: Remember, these are thin. Ninety seconds total is often enough. Use an instant-read thermometer if unsure (aim for 155-160°F for medium).
The First Bite: Your Reward
It is the moment. You’ve toasted the bun in beef fat. You’ve layered sauce, the crispy-edged patty (or two), melty cheese, and a crisp onion slice. You press the crown down gently. Then, you bite. The sound is the first reward—a distinct, satisfying crunch.
The flavors follow: savory, salty beef, tangy sauce, sweet onion, and soft bun. It’s a symphony you conducted. It is the smash burger promise fulfilled. It’s not just a better burger; it’s a cooking lesson on your plate. The lesson is that sometimes, less manipulation and more direct, intense heat create the most profound results.
Your Culinary Call to Action
The knowledge is now yours. The path to the perfect smash burger is clear: high heat, high pressure, high quality, low fuss. Don’t just think about it. Do it. This weekend, heat that skillet. Form those cold beef balls. Smash them with purpose. Whip up that signature sauce. Experience the difference that technique makes. Share it with friends. Make a batch of smash burger tacos for a fun twist. It isn’t just cooking; it’s crafting an experience. One deliciously crispy, juicy bite at a time. Now, create some kitchen magic.
FAQs About Smash Burgers
1. What’s the key difference between a smash burger and a regular burger?
A regular burger is often a thicker, hand-formed patty cooked for several minutes per side. A smash burger is a thin ball of beef violently pressed onto a scorching surface, creating a large, crispy, caramelized crust while cooking in under two minutes, resulting in a juicier interior relative to its thinness.
2. I don’t have a press. What’s the best substitute for smashing?
A sturdy, heavy-duty metal spatula is your best tool. Place it on the beef ball and press down firmly with the bottom of a second spatula, a small cast-iron pan, or a sturdy jar. Apply firm, even pressure for 10 seconds.
3. Why do you season the meat after smashing, not before?
Seasoning the raw beef ball with salt can draw out moisture through osmosis, creating a wet surface that steams instead of sears. Seasoning the top after the smash ensures the direct contact surface is dry for optimal crust formation, while the salt still flavors the patty.
4. Can I use this method for other meats, like chicken or turkey?
Yes, but with caution. Ground chicken and turkey are much leaner. To prevent dryness, consider adding a small amount of olive oil or mayonnaise to the meat before forming balls, and ensure you don’t overcook them. The crust will be different but still tasty.
5. Are smash burgers considered unhealthy?
Like any burger, it depends on context and portion. Using 80/20 beef provides flavor but also saturated fat. Balance it with a whole-grain bun, load up on vegetable toppings, and consider it an occasional, mindful indulgence rather than an everyday meal. The small, thin patty means less meat overall compared to a large pub-style burger.
References & Further Learning:
- Tool Efficacy: Empirical testing and recommendations from reputable culinary institutions like America’s Test Kitchen and Cook’s Illustrated inform the gear suggestions.
- Recipe Development: Methodology is derived from standard professional kitchen practices for griddled burgers and contemporary culinary trends documented in food media.
Read More: Tortellinatrice